Healthy Peanut Butter Cups
7 Ingredients to Peanut Butter Heaven
I find everything about the taste of peanut butter nostalgic. My mom was a health nut growing up, still is. There was no junk food kept in the house. When we were allowed fun treats, it was bought and finished the same day. Like ice cream after dinner on a Saturday night. Or stopping by the doughnut shop after making our paper route deliveries on a Sunday Morning (I started working when I was 8, LOL). One indulgent item that was always stocked in the house no matter what was peanut butter, Costco size. And so my love affair began. My dad used to say, ‘peanut butter goes with anything.’ Whenever he said that, I remember thinking ‘darn it he’s right!’. Whether peanuts trigger your childhood or not, I think you will love these peanut butter cups!


- 1 cup roasted peanuts*
- 1 cup dates, pitted
- 1 tablespoon sesame seeds
- ¼ teaspoon sea salt
- ¼ teaspoon cinnamon
- 2 cup dark chocolate chips
- 2 teaspoon coconut oil
- First, gather your mise en place. (mi ˑ zɑ̃ ˑ plas)
- Bring 3 cups water to a boil in a saucepan to prepare the double boiler.
- Next, place all the peanut butter ingredients in a food processor. Blend until the ingredients are mixed and chopped well, in between coarse and fine. (see picture)
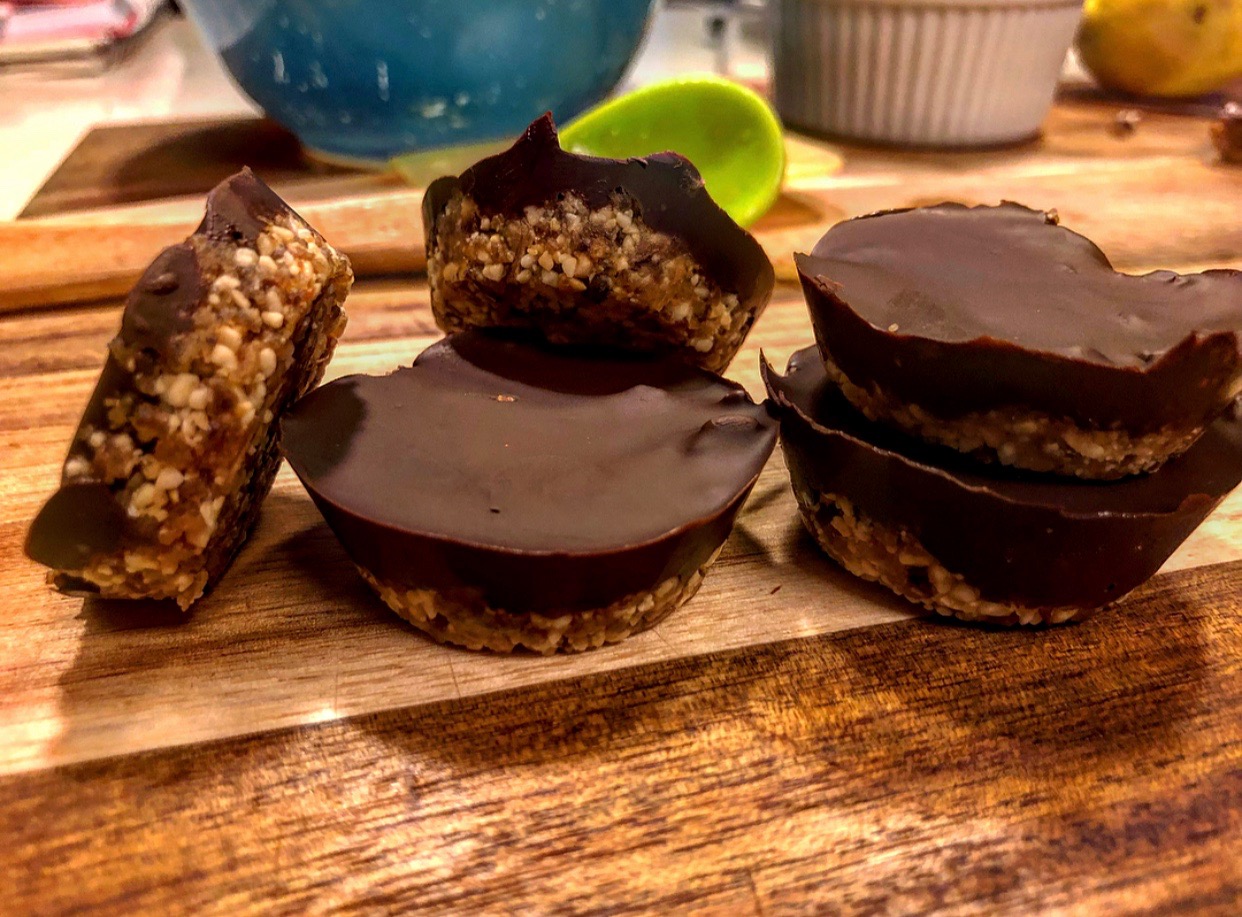
- Grab your mini cupcake pan and evenly distribute the peanut butter mixture into the 24 cups. Press ingredients firmly down in each mold until they are packed tight. This filling should fill about half of each cup. Set aside.
- Put a steel mixing bowl over the boiling water and turn the heat down to medium-low.
- Place the chocolate and coconut oil in the bowl and whisk continually until the chocolate is fully melted and creamy. The coconut oil helps the chocolate liquify and stay smooth.
- Pour the melted chocolate into a gravy boat, liquid pyrex measuring cup, or any gadget with a spout.
- Evenly pour the chocolate over the 24 cups. At this point each cup will nearly be filled to the top. You can garnish each treat with sea salt or finishing salt if you like. Place the tray into the freezer for 20 minutes or longer.
- Remove from the tray and serve. I use a silicone pan which makes removal extremely easy.
- These cups are delicious and energizing eaten alone. Throw a couple in a school lunch for dessert or serve them with ice cream sundaes. Store in the fridge or freezer, best if eaten within a couple weeks.
For another nostalgic dessert, try our Peanut Butter & Jelly Truffles!
Related Posts

Vegan Caramel Cookie Bites
Salty and Sweet Caramel Dessert Bites The recipe for these Vegan Caramel Cookie Bites came…
August 3, 2018
Citrus Dill Cucumber Salad
Farmers Market Marinated Cucumbers Last Sunday I was at the farmers market. On my way…
August 3, 2018
Leave A Comment